Cobot Welding Machine
PCL configures FAIRINO FR welding cobots with 350 A or 500 A MIG/MAG power sources. For repeat jobs such as brackets, frames and seams on fabricated assemblies, use the same fixture and recall the saved weld program at changeover.
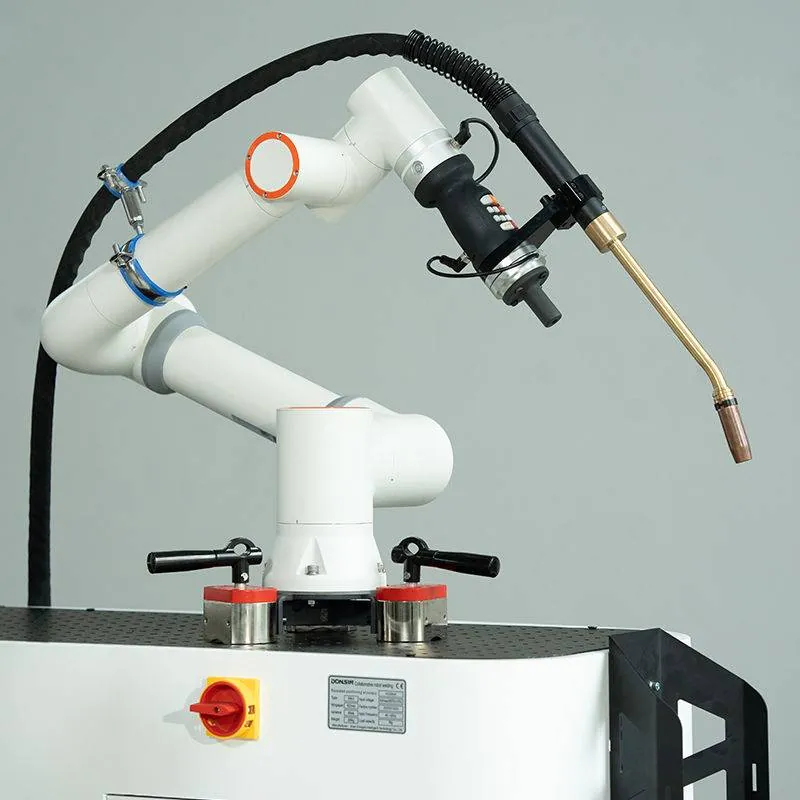
Compare FAIRINO FR arms
Shortlist by reach and payload. Check the farthest weld with the torch at its working angle, leaving clearance for clamps and cables.
| Model | Reach | Nominal payload | Reference |
|---|---|---|---|
| FR3 | 622 mm | 3 kg | FAIRINO catalog |
| FR5 | 922 mm | 5 kg | PCL arm comparison |
| FR10 | 1,400 mm | 10 kg | PCL quote reference |
| FR16 | 1,034 mm | 16 kg | FAIRINO catalog |
| FR20 | 1,854 mm | 20 kg | PCL arm comparison |
| FR30 | 1,403 mm | 30 kg | FAIRINO catalog |
FR5, FR10 and FR20 appear in the PCL arm comparison. FR3, FR16 and FR30 are catalog references. Confirm the arm revision and package scope with PCL.
Fixture check. For an FR10 layout, count the torch, bracket and wrist-mounted hardware in the payload. Check cable drag along the complete seam.
Choose a 350 A or 500 A power source
AOTAI AMIG ProR and MEGMEET Ehave CM both offer 350 A and 500 A options. Check the duty cycle at your welding current, then confirm the robot interface, torch, feeder and cooling.
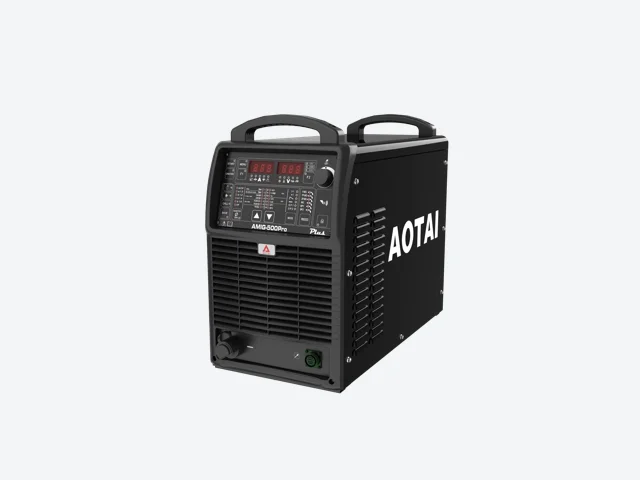
AOTAI MIG/MAG
350 A or 500 A options. A 500 A unit is shown.
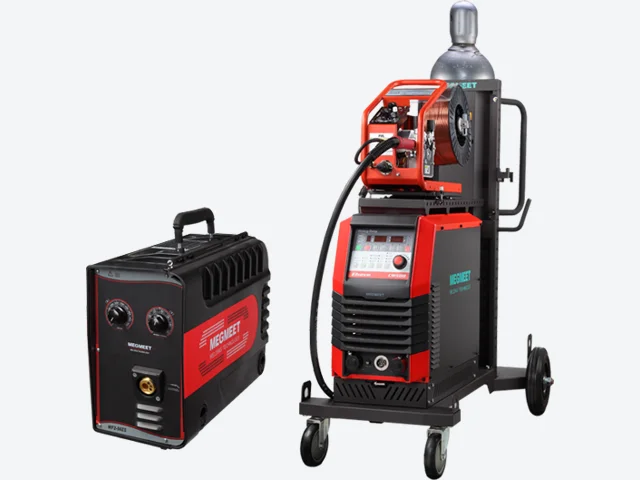
MEGMEET MIG/MAG
350 A or 500 A options. Ehave CM series equipment is shown.
| Option | When to evaluate it | What to confirm |
|---|---|---|
| 350 A | Your welding procedure and expected arc-on time fall within the selected unit's ratings. | Duty cycle at your welding current and compatibility with your wire size. |
| 500 A | Your procedure needs higher current or your weld sequence calls for more duty-cycle headroom. | Duty cycle at your welding current, input supply, torch rating and cooling requirements. |
350 A and 500 A identify power-source options. The actual current for a weld comes from the procedure and should be recorded during the trial. Confirm the exact AOTAI or MEGMEET model and its duty cycle before ordering.
The PCL 500 A reference configuration lists the robot arm, teach pendant, tablet, mobile cart and welder. Confirm whether the torch, cooling unit, magnetic base, force sensor or push-pull feeder is included or offered separately.
Hand-guided programming and part changeover
- Fixture the part. Set the locating points and clamps so the joint returns to the same position on repeat jobs.
- Teach and verify the path. Guide the arm to the start, end and intermediate points, then check torch angle and clearances before running the weld.
- Check the first part. Inspect the joint against your acceptance criteria, then save the path and welding settings for the next run.
See the welding cobot in operation
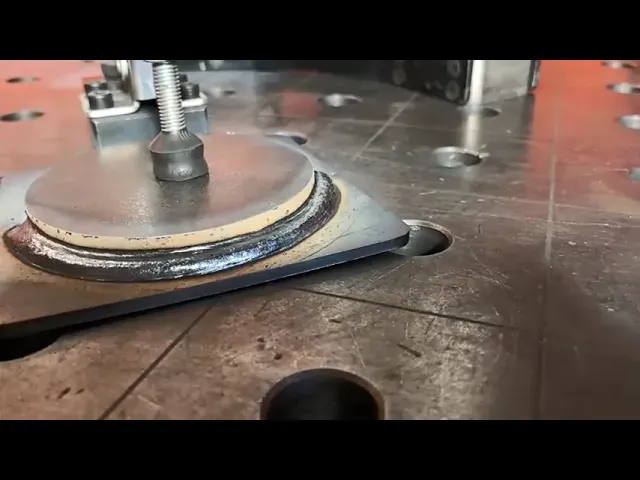
Weld examples
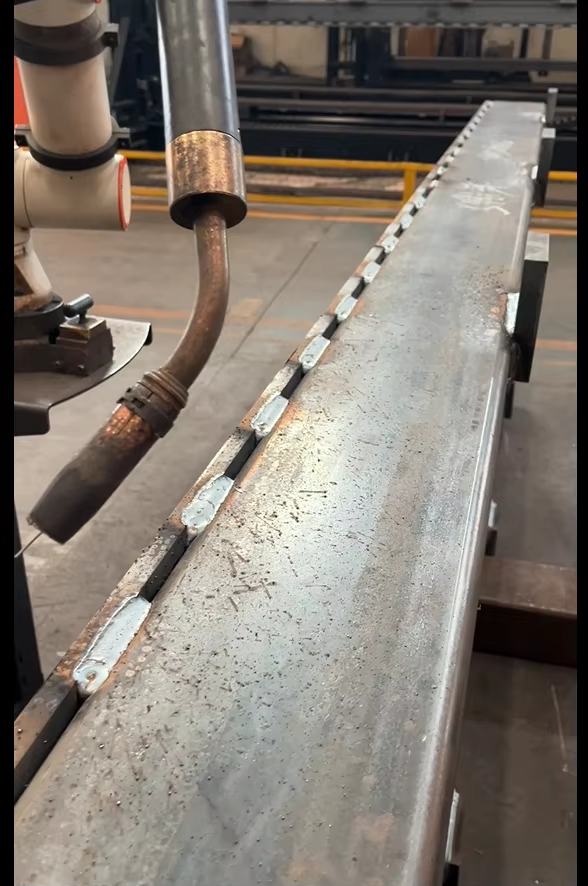
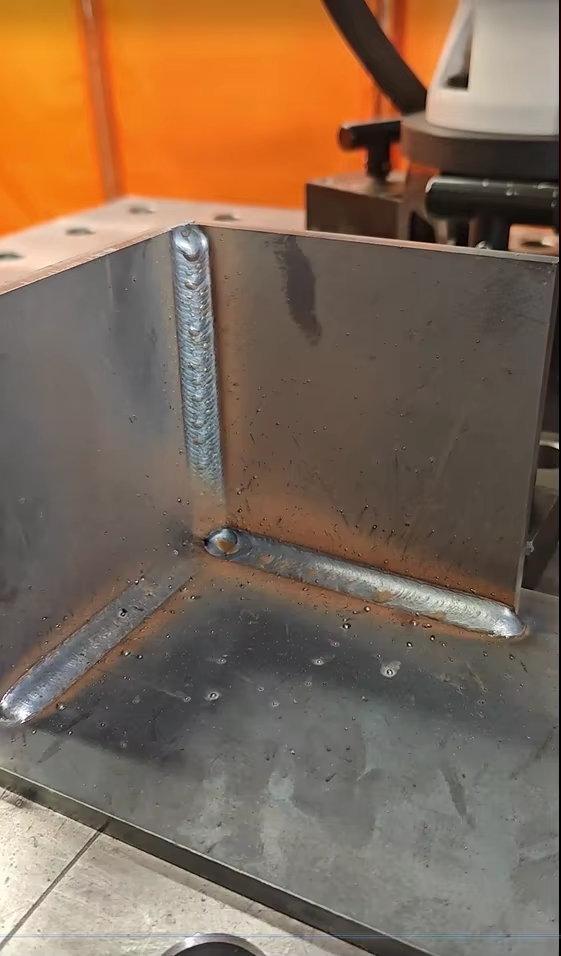
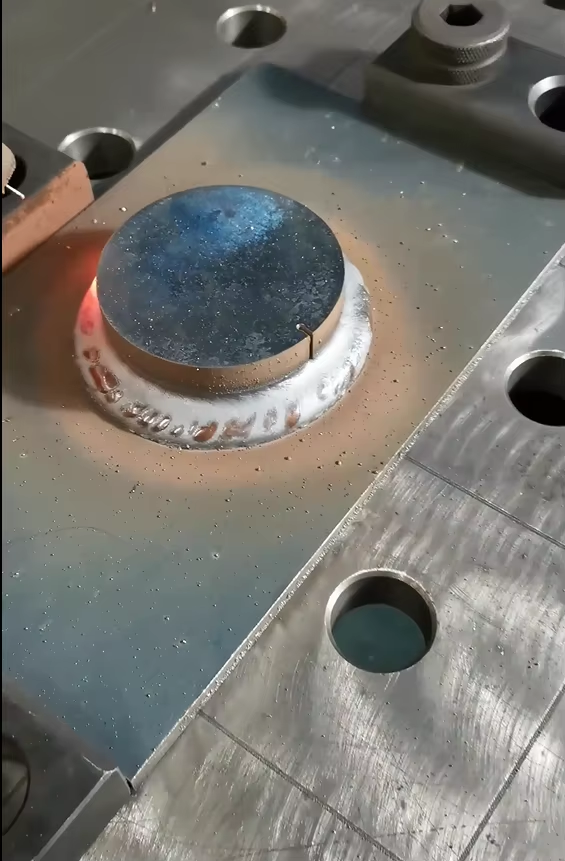
These photos show weld geometry. Material grade, thickness and welding settings are unavailable for these photos. For a trial on your parts, record the material, thickness, joint and fit-up, wire, shielding gas and actual welding current with each sample.
When a cobot welding cell makes sense
Start with a cobot trial for repeat batches where the same fixture can locate parts consistently. Measure changeover and first-piece quality on your own assemblies.
| Work pattern | Setup to evaluate | Trial check |
|---|---|---|
| One-off repairs or irregular fit-up | Manual welding | Check how often the operator must compensate for variation at the joint. |
| Repeat batches across several part families | Cobot with reusable fixtures and saved weld programs | Time the changeover and inspect the first part after reloading the job. |
| Stable, high-output part family | Dedicated robotic welding cell | Check whether loading, welding or inspection limits output. |
Assess safety for the complete cell, including the moving arm, fixture, hot parts, arc radiation, spatter and welding fumes. Confirm shielding, extraction and access controls for your installation before commissioning.
What goes into a cobot welding quote?
Compare quotations on the same scope. List the robot, welding source, torch, feeder and cooling first, then check who supplies fixtures, extraction, shielding, installation and operator training. For a mobile cell, include the time needed to move and reset it before welding the next part.
How to run a useful weld trial
- Use production fit-up. Send several blanks or tack-welded assemblies from a normal batch, including a part near the edge of your fit-up tolerance. Mark the seam that is hardest to reach.
- Check the first piece after changeover. Reload the fixture and recall the saved program. Inspect the resulting weld against the drawing and the acceptance criteria you agreed on.
- Time the whole job. Record loading, welding, unloading, inspection and rework. Divide total time by the number of accepted parts to compare the trial with your current process.
Related welding systems
Cutting and fabrication equipment
Robotic welding systems
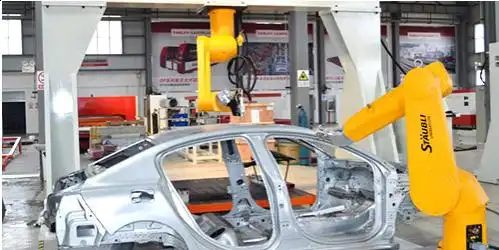
3D robot laser cutting machine
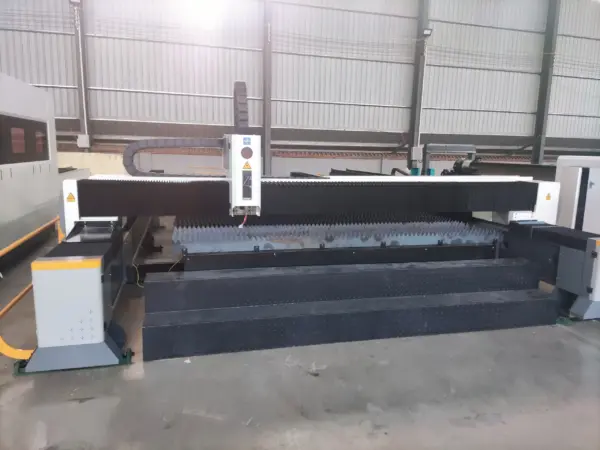
CNC Plasma Cutting Machines for Tube and Pipe
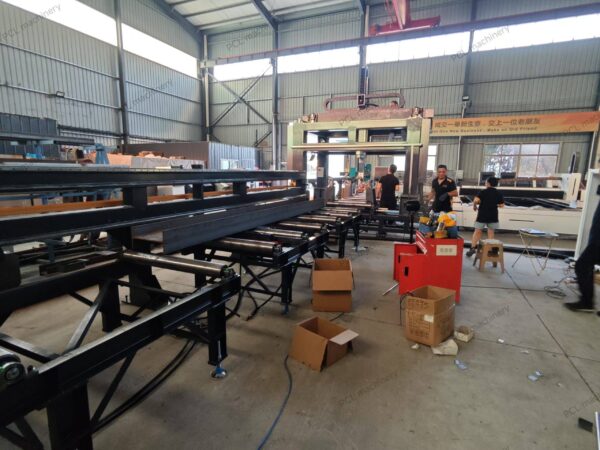
H series CNC Beam cutting machine
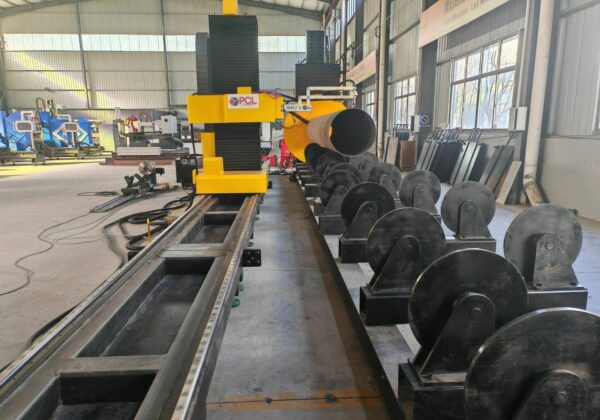
CNC Large pipe cutting machine
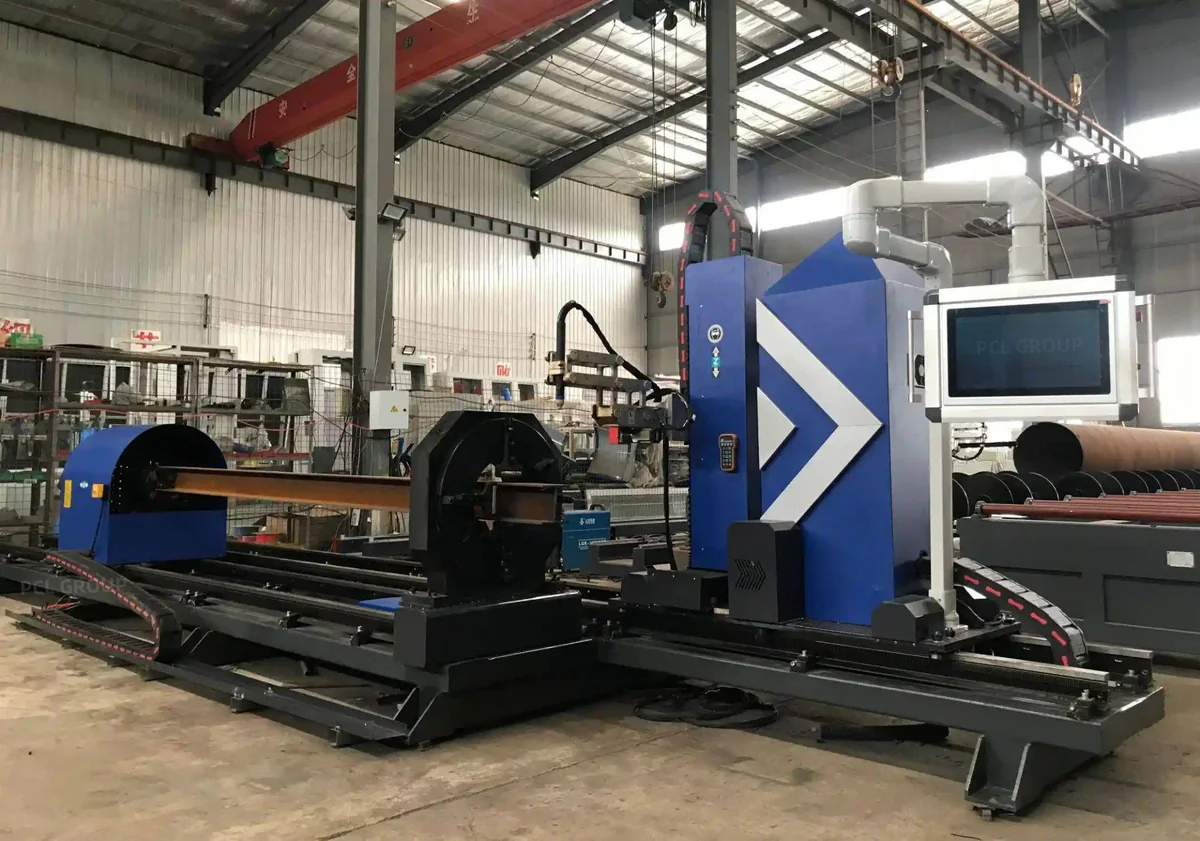
8 axis CNC Tubes and beam plasma Cutting machine
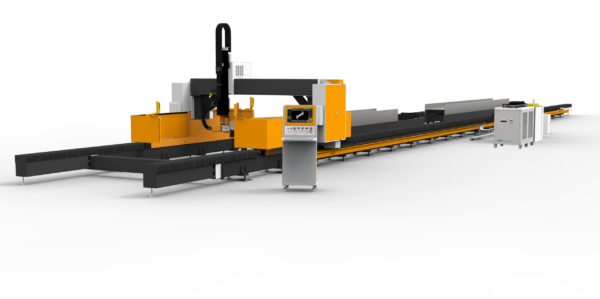
H-Beam Laser Cutting Machine
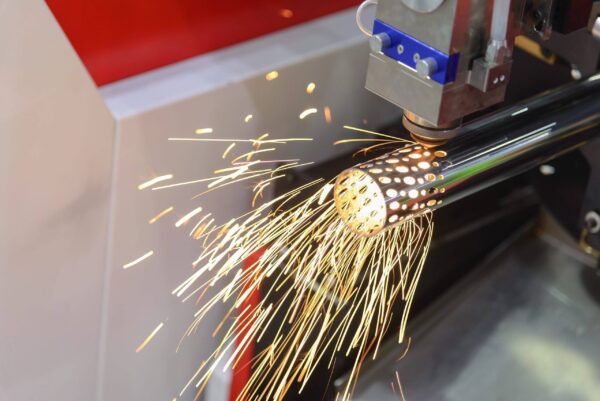
LT Series Tube Laser Cutting Machine
Related resources
Frequently asked questions
What is a MIG/MAG cobot welding machine?
A MIG/MAG cobot welding machine combines a collaborative robot arm with a welding power source, torch and wire feeder. The arm repeats a taught path while the welding equipment controls the arc and wire feed.
FR5, FR10 or FR20 for fixture welding?
Start with the seam farthest from the robot and the total torch assembly load. Check every required torch angle and clamp clearance before choosing an arm from the published reach and payload table.
Can an FR10 weld a 1,400 mm seam in one pass?
The FR10's published 1,400 mm reach is measured from the arm and does not define usable seam length. Verify both ends of the weld, torch angle, fixture clearance and cable routing through the full path.
When should I choose 350 A or 500 A?
Use the welding procedure's current and expected arc-on time to check the exact power source's duty cycle. Confirm that the torch, feeder and cooling system can support that same weld sequence.
What should I send for a cobot welding quote and sample trial?
Send the material grade, thickness, joint drawings, the seam that is hardest to reach, batch size and target output. Include the existing welding procedure and fixture photos when available.
Get a quote for your welding cell
Tell us which seams you want to automate. Include your longest seam, most difficult joint, current welding procedure and expected production volume.